
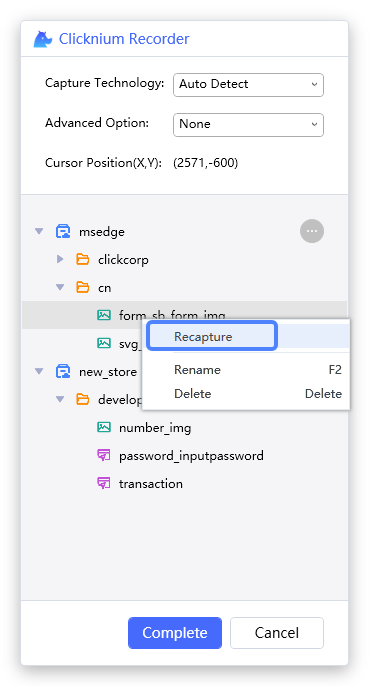
Recapture is a tool that allows you to capture a new UI element with a chosen locator name. Here are the steps involved:
Remarks: Recapture only support one locator.
1. Start recapture #
Start recapture: You can start recapture from either the recorder or the locator viewer tab in Visual Studio Code.
- To start from the recorder, simply click the “recapture” button.
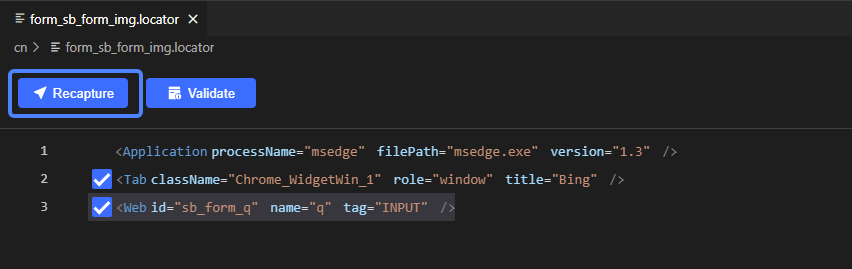
- To start from Visual Studio Code, click on the “start recapture” button in the UI element list.
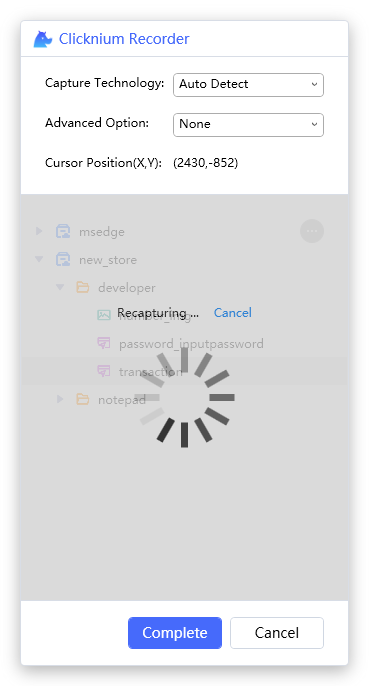
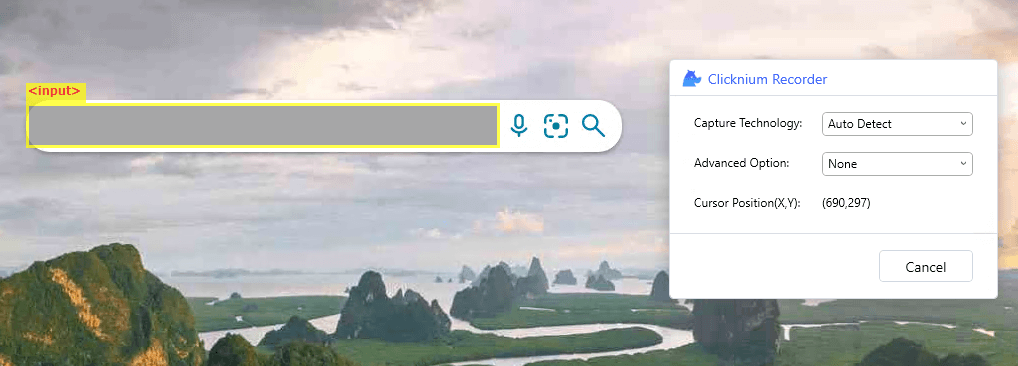
2. Recapture window #
Recapture window: Once you’ve started recapture, a window will appear where you can select the UI element you want to capture. This window can also be accessed from either the recorder or the locator viewer tab in Visual Studio Code.
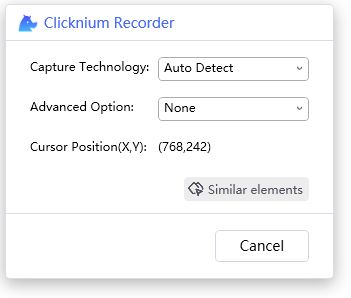
3. Start capture #
Start capture: To capture the UI element, select it by moving your mouse over it. The element will be highlighted and its position will be displayed in the recorder panel. Once you’ve selected the element, press “Ctrl + click”.
Ctrl+click‘


