
Overview
Many enterprises need data migration solution. For example, if IT system is upgraded,there is need to migrate data from legacy system to upgraded system. This is a sample for employee data migration solution with Clicknium desktop&web automation.
Here is the details: migrate employee data from a legacy thick client application into new HR system.
Practical Walkthrough
The manual steps are as the follows:
- query data from legacy client app based on employee id.
- query more meta data of employee through internal REST API.
- fill the data of employee to the new HR system(web portal).
Run this sample
- follow clicknium getting started to set up develop environment.
- clone this sample repo
- download and unzip legacy thick client app to local repo folder.
- clone sample repo.
git clone https://github.com/clicknium/clicknium-samples.git- open the folder ‘EmployeeDataMigration’ in Visual Studio Code
- through
pipinstall the dependent packages
requests is used to query data through internal REST api.
pip install requests- open “
app.py” in Visual Studio Code. - press “
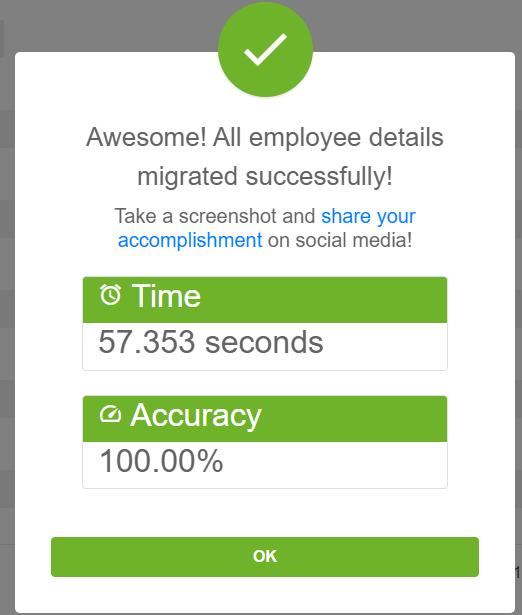
F5” to debug the sample or “CTRL+F5” to run the sample. You will see the result as below:
The Purpose of the Sample
(1) open the legacy client application with subprocess module, and it will be used to query data later.
current_dir = os.path.dirname(os.path.abspath(__file__))
employeeList_exe = os.path.join(current_dir, "EmployeeList.exe")
process = subprocess.Popen(employeeList_exe)
(2) open the browser with Clicknium python module and open new HR system. In this sample microsoft edge browser will be used.
tab = cc.edge.open("https://developer.automationanywhere.com/challenges/automationanywherelabs-employeedatamigration.html")When the browser is opened, it will return to the edge tab/page.
(3) get the employee id in new HR system with Clicknium web automaton
employee_id = tab.find_element(locator.employeedatamigration.developer.text_employeeid).get_text()(4) based on the captured employee_id above, find the employee information on legacy client application with Clicknium desktop automation.
cc.ui(locator.employeedatamigration.employee.edit_txtempid).set_text(employee_id, by='set-text')
cc.ui(locator.employeedatamigration.employee.button_btnsearch).click(by='control-invocation')
item["first_name"] = cc.ui(locator.employeedatamigration.employee.edit_txtfirstname).get_text()
item["last_name"] = cc.ui(locator.employeedatamigration.employee.edit_txtlastname).get_text()
item["email_id"] = cc.ui(locator.employeedatamigration.employee.edit_txtemailid).get_text()
item["city"] = cc.ui(locator.employeedatamigration.employee.edit_txtcity).get_text()
... ...
automatically set text for “employee_id” and click “search button” to capture all information such as “first_name”, “last_name “etc of this employee In desktop application operation,
Clicknium uses mouse&keyboard simulation by default. In this legacy application, the input and button control support control invocation, so we can use it by pass parameter by in click and “set_text” api.
(5) through requests module, send http request to get the extra information(phone number, start date) of the employee.
response = requests.get(api_url + employee_id)
print(datetime.datetime.now().strftime("%H:%M:%S") + " get response")
obj = json.loads(response.content.decode('UTF-8'))
item["phoneNumber"] = obj["phoneNumber"]
item["startDate"] = obj["startDate"]
(6) fill the data into new HR system through clicknium web automation.
tab.find_element(locator.employeedatamigration.developer.text_firstname).set_text(item["first_name"])
tab.find_element(locator.employeedatamigration.developer.text_lastname).set_text(item["last_name"])
tab.find_element(locator.employeedatamigration.developer.text_phone).set_text(item["phoneNumber"])
tab.find_element(locator.employeedatamigration.developer.text_email).set_text(item["email_id"])
... ...
tab.find_element(locator.employeedatamigration.developer.button_submitbutton).click()
In code above, you can see:
- The locator is separated from code, so the locator store can be managed independently. If the new HR system is upgradeD, the locator will changed and the locator store will be updated as well.
- As Clicknium provides unified API for both desktop and web automation, you can write automation code in the same way for browser and windows application.
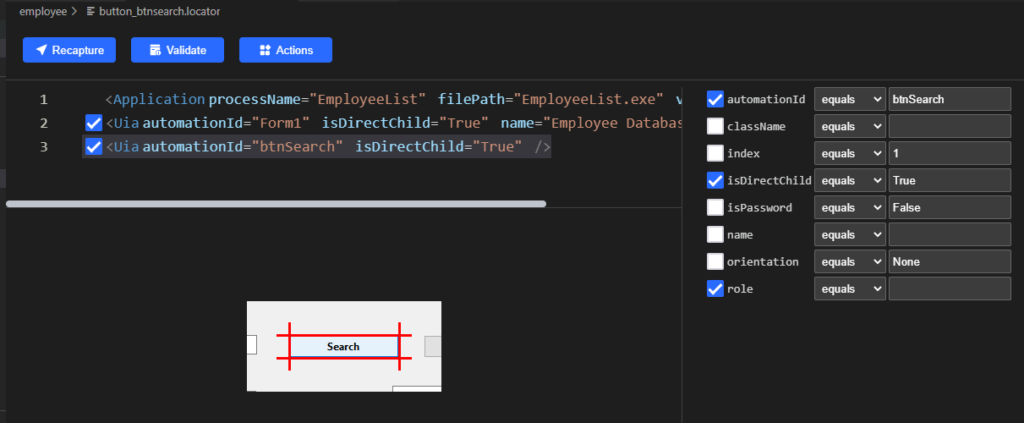
Locator
The Locator is the identifier of UI element, which can be recorded or edited with clicknium vs code extension.
In this sample, you can open the locator in Visual Studio Code, for example:
Compare with Selenium & Playwright
- The web driver needs to be downloaded in Selenium matching exactly the browser. In this example, the Edge browser version is
103.0.1264.62, so there is a need to download the same version msedge web driver first. - Selenium and playwright can only support web automation. So when it comes to employee data migration solution, you can operate on the legacy client app by using another library such as pywinauto.
More samples
You can refer to more automation samples or solutions in clicknium github samples.
Send email to us or Join Slack.


